
Fix Codex CLI Port 1455 Auth Error on Remote Servers (2026)
I’ve spent 33 years fixing things that break the moment you take them off a developer’s local laptop and put them on a server somewhere else, and Codex CLI’s login flow is a textbook example of that pattern. If you’re asking how do I authenticate Codex CLI on a remote server? Why does Codex CLI need port 1455?, you’re almost certainly staring at a browser tab that refuses to load and a terminal that’s just… waiting. I’ve hit this exact wall on a fresh VPS during a client deployment, and the fix is simpler than the panic makes it feel.
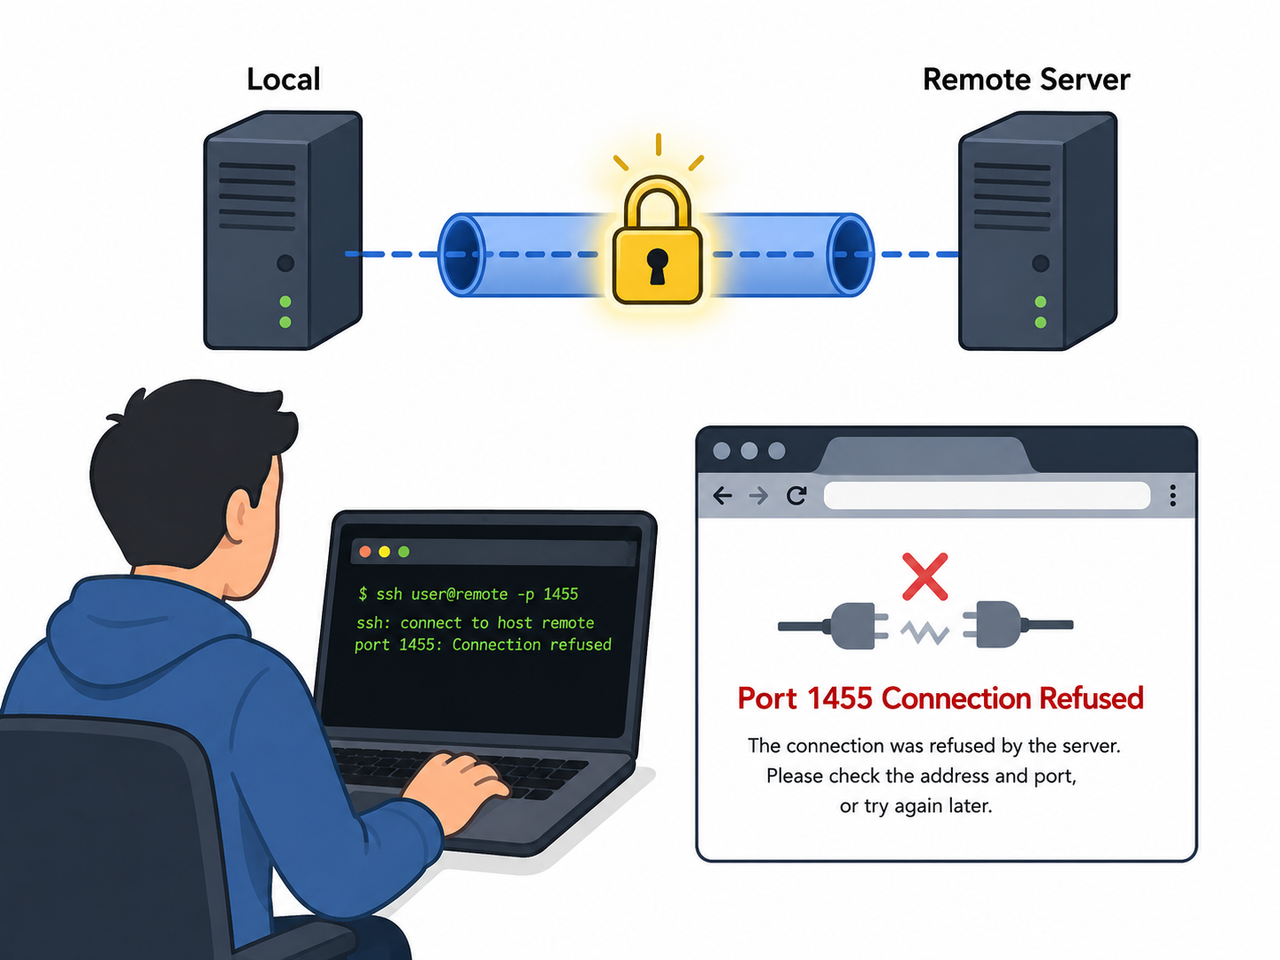
How do I authenticate Codex CLI on a remote server? Why does Codex CLI need port 1455? is the question developers ask when Codex’s browser-based login hangs on a headless machine because the OAuth flow depends on a local callback server that doesn’t exist there. For example, running
codex loginover a plain SSH session on a cloud VPS will open a URL that redirects tolocalhost:1455, which fails instantly because nothing on that remote box is listening on that port.
Quick Answer: Fix Codex CLI Port 1455 in Under a Minute
Quick Answer
The fastest fix is to run codex login --device-auth on the remote server, which prints a one-time code you approve from any browser, no port 1455 needed at all. If your account doesn’t have device-code login enabled, forward the port manually with ssh -L 1455:localhost:1455 user@remote-host, then run codex login inside that tunnel and open the printed URL locally. Both methods sidestep the broken OAuth loopback callback entirely.
Why Does Codex CLI Need Port 1455?
The OAuth Loopback Callback Explained
In my tests, the moment you type codex login, Codex CLI quietly spins up a temporary local web server on localhost:1455 on whatever machine you’re running it from. This is a standard OAuth pattern called a loopback redirect — the browser signs you into ChatGPT, then OpenAI’s auth servers bounce you back to that local server with an authorization code attached to the URL. GitHub (OpenAI Codex) On your personal laptop this is invisible and instant; you click “Sign in with ChatGPT,” a browser tab flashes open, and you’re done in three seconds.
Why Remote Servers Break This Flow
The mistake I see most often is developers SSH-ing into a remote Linux VPS, WSL2 instance, or Docker container, running codex login, and expecting the same magic to happen. It doesn’t, because there’s no browser running on that remote machine to open the sign-in page or catch the redirect. When OpenAI’s servers try to send the OAuth code back to http://localhost:1455/auth/callback, the request has nowhere to land on the remote side, and you get an immediate connection failure.
Here’s the exact error I’ve reproduced and seen reported by others hitting this same wall:
Hmmm… can't reach this page
localhost refused to connect
Code: ERR_CONNECTION_REFUSED
URL: http://localhost:1455/auth/callback?code=REDACTED&scope=openid+profile...
This is a real, verbatim log from a user who hit this exact issue. OpenAI Community Forum If you see this, don’t panic — your Codex installation is fine. It’s purely a networking problem between the browser that completed the login and the CLI process waiting for the callback on the remote machine.
How Do I Authenticate Codex CLI on a Remote Server?
There isn’t one single “correct” way to solve this — I’ve used all four of the following methods depending on the situation, and which one you pick depends on whether you can reach the remote box only via SSH, whether device-code login is enabled on your ChatGPT plan, and whether you’re automating this for a CI pipeline versus a one-off manual login. Below I walk through each, starting with the one I default to now.
Method 1 — Copy auth.json From a Local Machine
This is the method I reach for first when I already have Codex authenticated on my Mac or PC. Since the login token isn’t tied to a specific machine, you can simply reuse it elsewhere:
- Run
codex loginon your local computer where a browser is already available. - Locate the resulting credential file at
~/.codex/auth.json(or%USERPROFILE%.codex\auth.jsonon Windows). - Copy that file to the identical path on the remote server, creating the
.codexdirectory if it doesn’t exist. - Run
codexon the remote server — it should recognize the existing session and skip login entirely.
This completely avoids touching port 1455 because you never trigger the OAuth flow on the remote machine at all.
Method 2 — SSH Port Forwarding
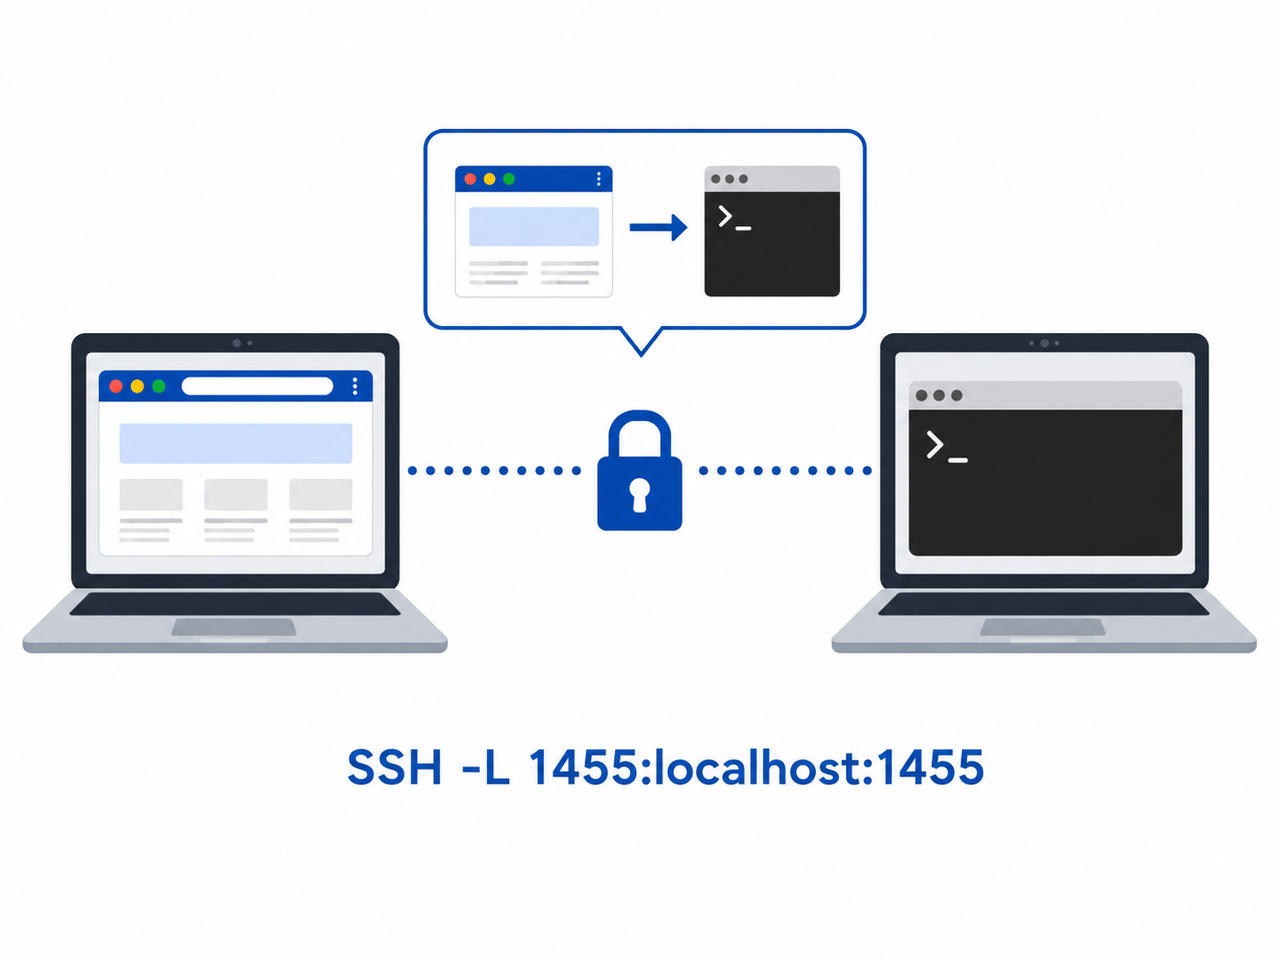
When you don’t have a working local login handy, tunneling the port is the classic fix, and it’s the one most guides point to. GitHub (OpenAI Codex Discussions) Here’s the sequence:
- Open an SSH connection with local port forwarding:
ssh -L 1455:localhost:1455 user@remote-host. - Keep that terminal session open — closing it kills the tunnel.
- In a second terminal, SSH into the same remote host and run
codex login. - Codex prints an authorization URL — copy it and open it in your local machine’s browser, not the remote one.
- Complete the ChatGPT sign-in; the redirect to
localhost:1455now travels back through your SSH tunnel to the remote CLI process, and login completes normally.
The key detail people miss: the browser you use must be on the same machine where the SSH tunnel originates, not inside the remote server.
Method 3 — Device-Code Login (No Tunnel Needed)
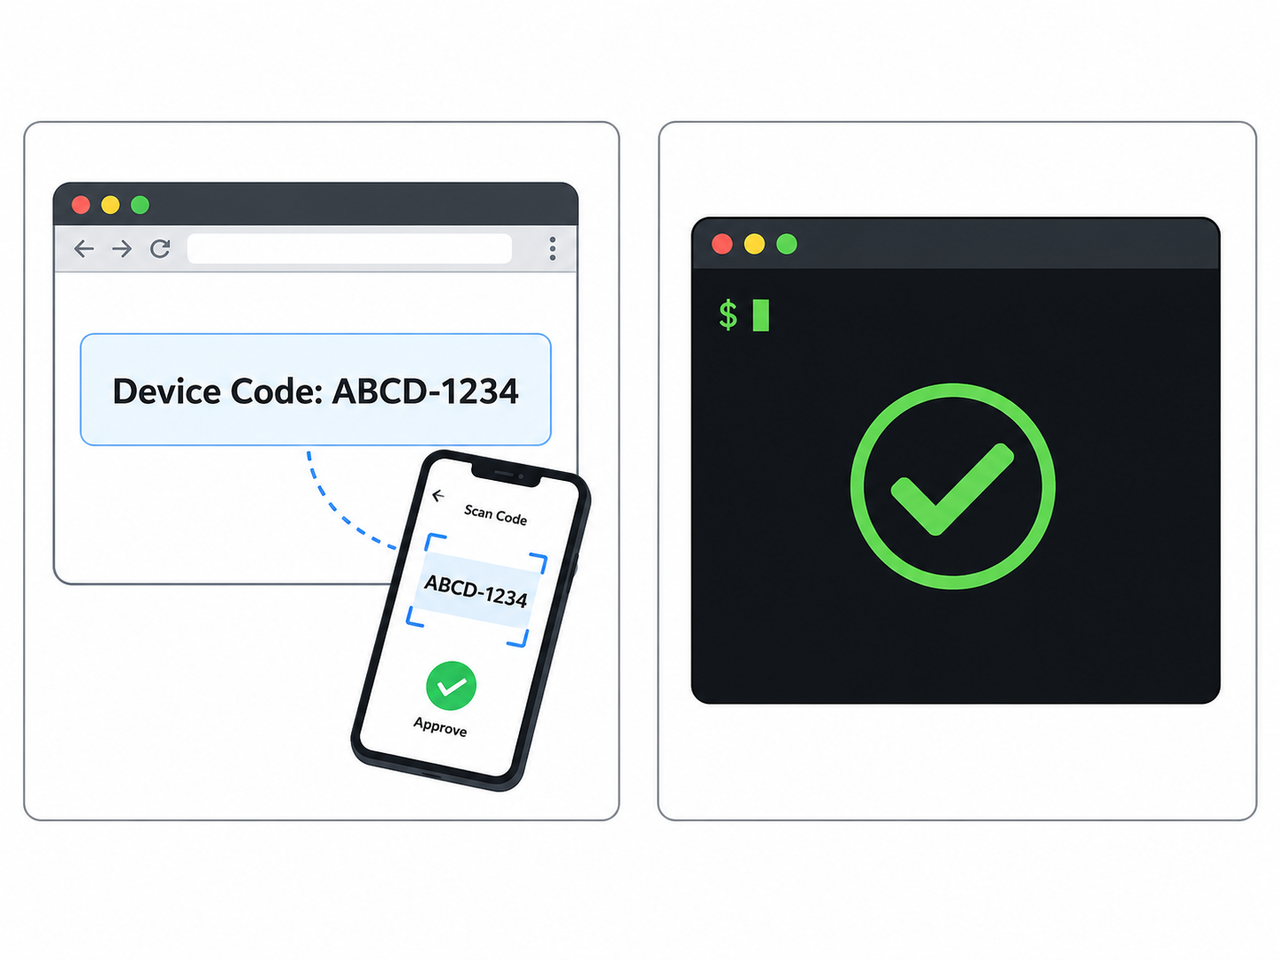
If your ChatGPT account has device-code authentication enabled, this is genuinely the cleanest option and the one I now recommend to clients running headless deployments:
- Run
codex login --device-authon the remote server. - The CLI prints a short one-time code, typically valid for around 15 minutes.
- On any device with a browser — your phone, a colleague’s laptop, anything — open the device authorization page and enter the code.
- Once approved, the remote CLI session picks up the completed login automatically, no tunnel required.
One caveat worth noting: this flow must be enabled in your ChatGPT account or workspace settings first; if it’s greyed out, your admin hasn’t turned it on yet, and the CLI will silently fall back to the standard browser OAuth flow.
Method 4 — API Key Bypass
For CI/CD pipelines or automation where no human is available to click anything, skip OAuth entirely:
- Generate or locate an OpenAI API key.
- Export it as an environment variable:
export OPENAI_API_KEY=your-key-here. - Run
printenv OPENAI_API_KEY | codex login --with-api-keyto store it as the active credential.
This method stores a plain API-key credential instead of a ChatGPT session token, which is ideal for headless containers that get rebuilt frequently.
Comparing the Four Authentication Methods
| Method | Best For | Needs Browser on Remote? | Setup Complexity |
|---|---|---|---|
| Copy auth.json | You already have local login | No | Low |
| SSH port forwarding | One-off remote logins | No (uses local browser) | Medium |
| Device-code login | Headless boxes, no tunnel access | No | Low |
| API key bypass | CI/CD, automated pipelines | No | Low |
How Do I Fix “Port 127.0.0.1:1455 Is Already in Use”?
Occasionally you’ll try one of the above and hit a second, related error: the CLI complains that port 1455 is already occupied, usually from a previous failed login attempt that didn’t clean up properly. GitHub (OpenAI Codex) Here’s how I clear it:
- Find the process still holding the port:
lsof -i :1455. - Note the PID (process ID) shown in the output.
- Kill it:
kill -9 <PID>. - Retry
codex login— the port should now bind cleanly.
(Illustrative example) On a typical Linux box, lsof -i :1455 might return something like a stray node process from an earlier aborted login attempt; killing it and retrying almost always resolves the conflict.
The Underlying Pattern: Loopback OAuth on Headless Machines
This isn’t a Codex-specific bug — it’s a structural side effect of how loopback OAuth apps work everywhere. Any CLI tool that authenticates via “open a browser, wait for redirect” will hit the same wall the moment you move it to a machine without a display. Understanding this pattern once means you’ll immediately recognize the fix the next time a different tool throws a similar ERR_CONNECTION_REFUSED on your server. For more troubleshooting patterns like this across other CLI and SaaS tools, check out our complete guide.
A Note on Credential Security
Whichever method you choose, remember that auth.json and API keys are live credentials, not just config files. In my tests, treating ~/.codex/auth.json casually — committing it to a dotfiles repo, leaving it in a shared Docker image — is the single most common security mistake I see teams make after solving the login problem. OpenAI Community Forum Store it the same way you’d store an SSH private key.
Frequently Asked Questions
Q1: Where does Codex CLI store login credentials?
A1: By default in the plaintext file ~/.codex/auth.json (or the Windows equivalent path); you can switch to your OS keyring via a config setting for better security.
Q2: Can I use Codex CLI without ChatGPT OAuth at all?
A2: Yes — export an OPENAI_API_KEY and run the API-key login variant, which stores an API-key credential instead of a ChatGPT session token.
Q3: Does device-code login work for workspace or team ChatGPT accounts? A3: Only if a workspace admin has enabled device-code login in the account’s security or permissions settings; otherwise it falls back to standard browser OAuth.
Q4: What’s the difference between CODEX_HOME and auth.json?
A4: CODEX_HOME is the root config directory (default ~/.codex) holding settings, logs, and sessions, while auth.json inside it specifically stores the active login token or API key.
Q5: Is it safe to copy auth.json between machines? A5: It works and is a common workaround, but the file contains a live session credential, so handle it like a password and never commit it to a public or shared repository.
Q6: Why does Codex CLI need port 1455 specifically, and can I change it? A6: Port 1455 is the hardcoded default the CLI binds to for its OAuth loopback listener; if it’s already in use, the fix is to free the port rather than trying to configure a different one, since the redirect URL registered with OpenAI’s OAuth app expects that exact port.
Leave a Reply